Why I Chose Directus as My Backend
Setup, Collections, Roles and Docker Compose
When I started building the Demo Store — a full stack e-commerce app with TanStack Start — I needed a backend that could handle data, authentication, file storage, and an admin interface without stitching together multiple services.
Directus ticked every box. Here's why I chose it, how I set it up, and what it looks like in practice.
How Directus Compares to Other CMS Options
There are plenty of headless CMS options out there. Here's how Directus stands out:
| Directus | Strapi | Contentful | Sanity | |
|---|---|---|---|---|
| Self-hostable | ✅ | ✅ | ❌ | ❌ |
| Free to use | ✅ under $5M revenue | ✅ open source | ❌ paid tiers | ❌ paid tiers |
| SQL DB support | ✅ any existing SQL DB | ✅ PostgreSQL, MySQL, MariaDB, SQLite | ❌ | ❌ |
| Built-in auth | ✅ | ✅ | ❌ | ❌ |
| REST + GraphQL | ✅ | ✅ | ✅ | ✅ |
| Admin dashboard | ✅ | ✅ | ✅ | ✅ |
Strapi is a strong alternative and supports multiple SQL databases too. The key difference for me was that Directus connects directly to any existing database — you point it at a database you already have and it works. There's no schema migration system to manage and no framework-specific setup. Contentful and Sanity are cloud-only, which means you don't own your data and you're subject to their pricing as you scale.
Setting Up Directus with Docker Compose
I run Directus on a VPS managed by Coolify. The entire setup lives in a single Docker Compose file. Here's the full config I use for the demo store:
services:
  directus:
    image: 'directus/directus:11.15.4'
    ports:
      - '8055:8055'
    volumes:
      - './uploads:/directus/uploads'
      - './extensions:/directus/extensions'
    environment:
      SECRET: '${SECRET}'
      MARKETPLACE_TRUST: all

      # Database
      DB_CLIENT: pg
      DB_HOST: '${DB_HOST}'
      DB_PORT: '5432'
      DB_DATABASE: '${DB_DATABASE}'
      DB_USER: '${DB_USER}'
      DB_PASSWORD: '${DB_PASSWORD}'

      # Redis Cache
      CACHE_ENABLED: 'false'
      CACHE_AUTO_PURGE: 'true'
      CACHE_STORE: redis
      REDIS: '${REDIS_URL}'

      # CORS
      CORS_ENABLED: 'true'
      CORS_ORIGIN: '${CORS_ORIGIN}'
      CORS_CREDENTIALS: 'true'

      # Email via Resend SMTP
      EMAIL_TRANSPORT: smtp
      EMAIL_SMTP_HOST: smtp.resend.com
      EMAIL_SMTP_PORT: 465
      EMAIL_SMTP_USER: resend
      EMAIL_SMTP_PASSWORD: '${EMAIL_SMTP_PASSWORD}'
      EMAIL_SMTP_SECURE: 'true'
      EMAIL_FROM: contact@yourdomain.com

      # Auth
      USER_REGISTER_REQUIRE_EMAIL_VERIFICATION: 'true'
      USER_REGISTER_URL_ALLOW_LIST: '${USER_REGISTER_URL_ALLOW_LIST}'
      PASSWORD_RESET_URL_ALLOW_LIST: '${PASSWORD_RESET_URL_ALLOW_LIST}'

      # Google OAuth
      AUTH_PROVIDERS: google
      AUTH_GOOGLE_DRIVER: openid
      AUTH_GOOGLE_ISSUER_URL: 'https://accounts.google.com'
      AUTH_GOOGLE_CLIENT_ID: '${AUTH_GOOGLE_CLIENT_ID}'
      AUTH_GOOGLE_CLIENT_SECRET: '${AUTH_GOOGLE_CLIENT_SECRET}'
      AUTH_GOOGLE_IDENTIFIER_KEY: email
      AUTH_GOOGLE_ALLOW_PUBLIC_REGISTRATION: 'true'
      AUTH_GOOGLE_DEFAULT_ROLE_ID: '${AUTH_GOOGLE_DEFAULT_ROLE_ID}'
      AUTH_GOOGLE_REDIRECT_ALLOW_LIST: '${AUTH_GOOGLE_REDIRECT_ALLOW_LIST}'
      AUTH_GOOGLE_MODE: session

      # Session & Cookies
      SESSION_COOKIE_SECURE: 'true'
      SESSION_COOKIE_SAME_SITE: lax
      REFRESH_TOKEN_COOKIE_SECURE: 'true'
      REFRESH_TOKEN_COOKIE_SAME_SITE: lax

      # Extensions
      EXTENSIONS_AUTO_RELOAD: 'true'
      EXTENSIONS_PATH: /directus/extensions
A few things worth noting:
PostgreSQL is the database —
DB_CLIENT: pgtells Directus to use itResend handles all transactional email via SMTP — verification emails, password resets
Google OAuth is configured via OpenID Connect — users can register and log in with their Google account
Session cookies are secure and SameSite lax — works cleanly with TanStack Start on a separate domain
All sensitive values are environment variables — never hardcoded
Note: In my setup PostgreSQL runs as a separate service managed independently by Coolify — that's why it's not included in this Compose file. If you prefer to keep everything together, you can add PostgreSQL directly to the same file:
  postgres:
    image: postgres:16
    environment:
      POSTGRES_DB: '${DB_DATABASE}'
      POSTGRES_USER: '${DB_USER}'
      POSTGRES_PASSWORD: '${DB_PASSWORD}'
    volumes:
      - postgres_data:/var/lib/postgresql/data

volumes:
  postgres_data:
Then set DB_HOST to postgres in your Directus environment variables to point it at the service name. Either approach works — separate or combined is a matter of preference.
The Admin Dashboard and Collections
Once Directus is running, you access the admin dashboard at your Directus URL. This is where you build your data model visually.
For the demo store I created the following collections:
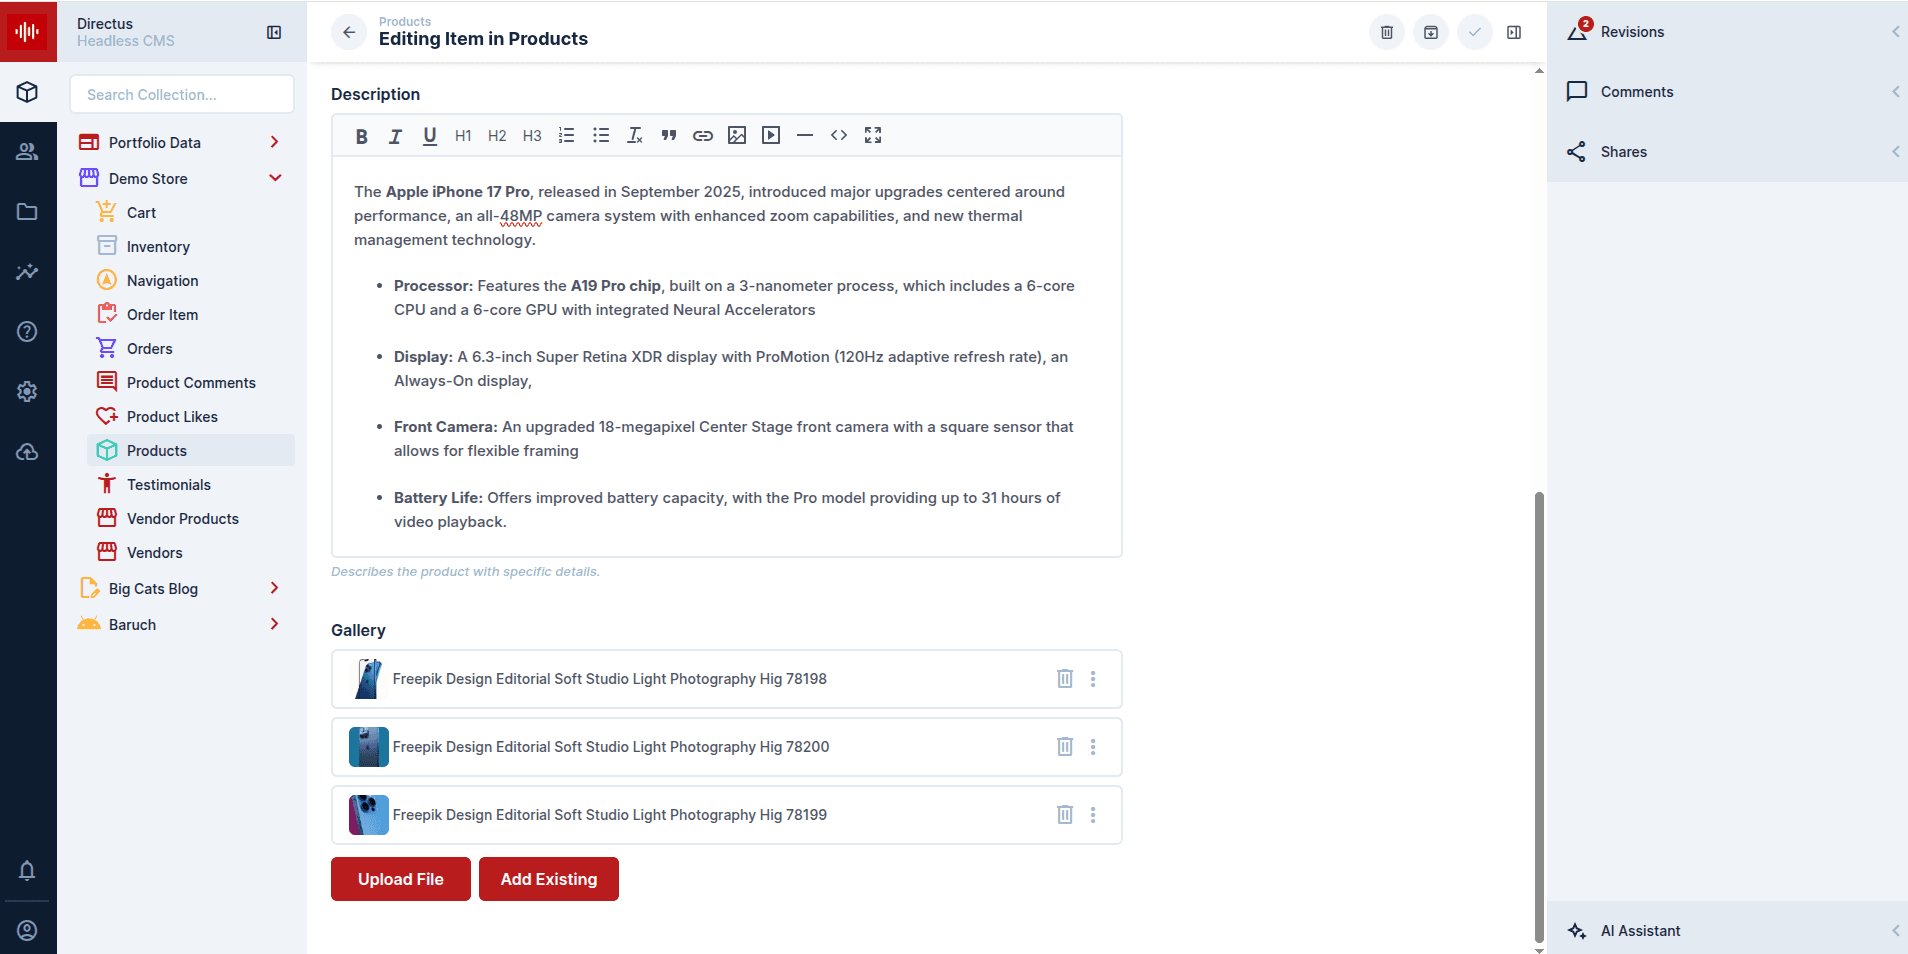
products — name, description (WYSIWYG), price, sale price, category, images, slug
categories — name, slug, description
orders — user, items, total, status
order_items — order, product, quantity, price
navigation — links and structure for the site nav
Each collection maps directly to a PostgreSQL table. Directus generates the REST and GraphQL API automatically. No boilerplate, no migrations to write by hand.
The WYSIWYG editor on the description field outputs HTML — I cover how to render that safely in React in a later post in this series.
Roles and Permissions
This is where Directus really shines for production apps. Every collection and field can have granular permissions set per role.
For the demo store I set up three roles:
Public — unauthenticated visitors
Can read
products,categories,navigationCannot read
orders,order_items, or any user data
Authenticated User — logged in customers
Can read all public collections
Can read and create their own
ordersandorder_itemsCan read and update their own user profile
Cannot read other users' data
Admin — full access
Full CRUD on all collections
Access to the Directus admin dashboard
The permissions are configured in the Directus admin panel under Settings → Roles & Permissions. You set them visually — no code required. Each role gets a matrix of read, create, update, delete permissions per collection, and you can even restrict access to specific fields within a collection.
What Directus Handles For the Demo Store
✅ All product and category data via REST API
✅ User registration with email verification
✅ Login with email/password and Google OAuth
✅ Password reset via email
✅ Order management
✅ File and image storage and serving
✅ Role-based access control
✅ Admin dashboard for managing all content
All from a single self-hosted instance running on a $20/month VPS.
In the next post I'll cover how I connect TanStack Start to Directus using the SDK — setting up the client, typed data fetching, and filtering collections.