TanStack Start Layouts Explained (Pathless Layout Routes + Outlet)
Layouts let us customize sections of our app based on their purpose, their content, or the look and feel we want.
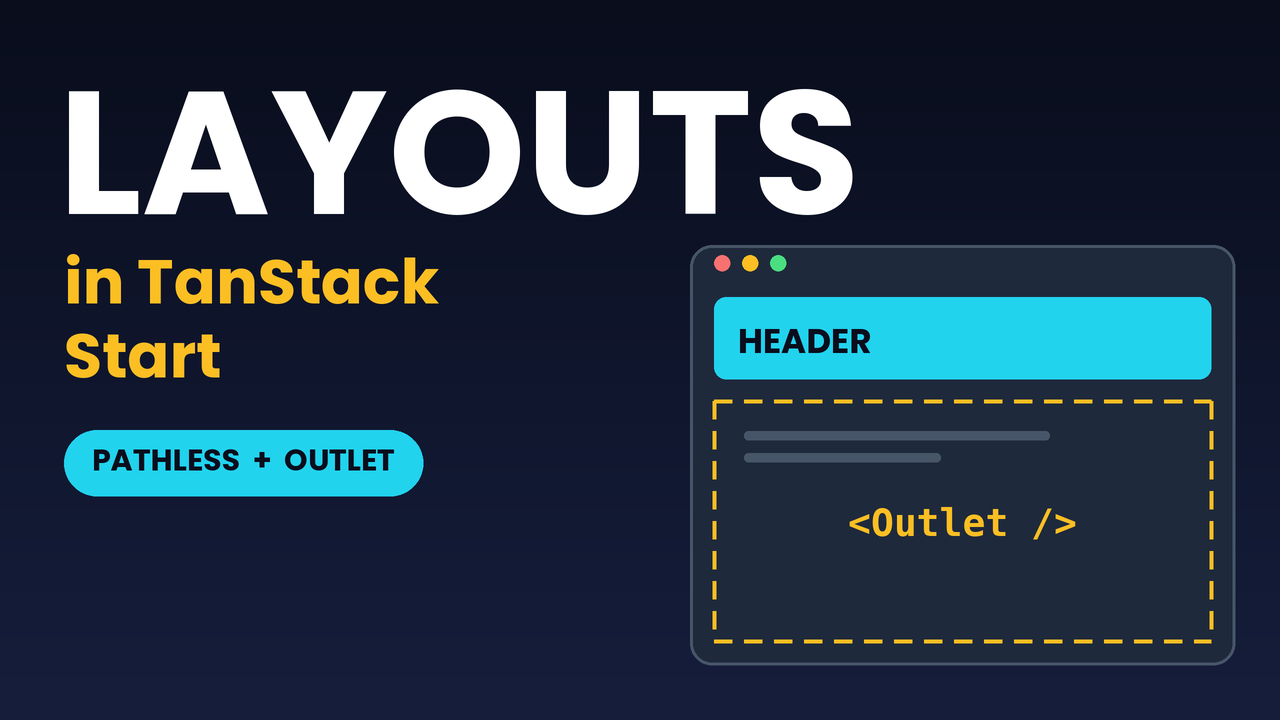
https://www.youtube.com/watch?v=dEqDPVPYRDI&t=13s
Layouts let us customize sections of our app based on their purpose, their content, or the look and feel we want. They give us the flexibility to mix things up, get more creative, and offer a really great UI/UX experience to our users.
Navigation benefits the most. With layouts we can change the nav style, content, and links based on the page a user is on. We also get to write DRY (Don't Repeat Yourself) code: build a navigation component once, call it in a layout, and when something needs to change, edit one file and the change propagates throughout the app.
So, enough talk. Let's crack on.
Where we're picking up
This post continues the app we've been building in this series. If you're here for the first time, start with the first post in this TanStack Start series. If you want to keep up with the full stack, you can also go through the Directus series.
Create a simple header
Open the app in VS Code. In src/components, create a file called MainHeader.tsx with the following code:
export default function MainHeader() {
  return <div></div>
}
Inside the div, add another div containing an h1 and a p tag:
export default function MainHeader() {
  return (
    <div>
      <div>
        <h1>Logo</h1>
        <p>This is our navigtion menu</p>
      </div>
    </div>
  )
}
Yes, "navigtion" is missing an "a". That's deliberate, and you'll see why shortly.
Now add some Tailwind CSS classes:
export default function MainHeader() {
  return (
    <div>
      <div className="flex items-center justify-between p-8">
        <h1 className="uppercase font-bold text-2xl">Logo</h1>
        <p>This is our navigtion menu</p>
      </div>
    </div>
  )
}
Approach 1: paste the header into every route
Copy the div and its content from MainHeader:
<div>
  <div className="flex items-center justify-between p-8">
    <h1 className="uppercase font-bold text-2xl">Logo</h1>
    <p>This is our navigtion menu</p>
  </div>
</div>
Paste it into each route component (index, about, and products) above the first h1. For example, in the home route:
import { createFileRoute } from '@tanstack/react-router'

export const Route = createFileRoute('/')({ component: Home })

function Home() {
  return (
    <div className="p-8">
      <div>
        <div className="flex items-center justify-between p-8">
          <h1 className="uppercase font-bold text-2xl">Logo</h1>
          <p>This is our navigtion menu</p>
        </div>
      </div>

      <h1 className="font-bold text-5xl text-slate-700">Home</h1>
    </div>
  )
}
You should now see the header on every page. As a reminder from the previous post, the home page is http://localhost:3000, and for every other page you add a forward slash and the page name, like /about and /products.
We have a site header. But this isn't a good implementation. Remember the misspelled word? To fix it, we'd have to visit every route and correct it. That's not efficient. Delete the header from every page and let's try something better.
Approach 2: use the MainHeader component
Our site should be back to how it was, without a header. This time, import the MainHeader component in every route and place it above the first h1:
import MainHeader from '@/components/MainHeader'
import { createFileRoute } from '@tanstack/react-router'

export const Route = createFileRoute('/about')({
  component: RouteComponent,
})

function RouteComponent() {
  return (
    <div className="p-8">
      <MainHeader />
      <h1 className="font-bold text-5xl text-slate-700">About</h1>
    </div>
  )
}
Now go into MainHeader.tsx and fix "navigtion" to "navigation". One fix, one file, and it shows up across the app. That's a real improvement.
It's still not ideal, though, because we have to remember to add MainHeader to every route component we create.
Approach 3: put the header in __root.tsx
There's a way to call the header once and have it available to every route. Remember __root.tsx? It wraps our entire app using the children prop. What if we place the header above children?
First, remove <MainHeader /> from your route components. Then update the root:
// Only the code relevant to this discussion is shown
import MainHeader from '@/components/MainHeader'

function RootDocument({ children }: { children: React.ReactNode }) {
  return (
    <html lang="en">
      <head>
        <HeadContent />
      </head>
      <body>
        <QueryClientProvider client={queryClient}>
          <MainHeader />
          {children}
        </QueryClientProvider>
        <Scripts />
      </body>
    </html>
  )
}
Visit the home page and you'll see the logo on the left and the nav menu on the right, above the page content. Visit /about and /products and the header is there too.
Is this great? Well, not quite. It's efficient: the component is called once and shows on every route, and changes happen in one place. The limitation is flexibility. If we want a different header depending on the page the user is on, we have to add complexity to this file. A good rule of thumb is to keep __root.tsx as clean and lean as possible.
So delete the header and its import from __root.tsx. There's an even better way: layouts.
Layouts
With layouts you get the efficiency of editing one file and having the change ripple through your app, but you can also have different layouts for different pages and still edit just one file for each.
In src/components, create a layouts folder. Inside it, create AppLayout.tsx:
import { Outlet } from '@tanstack/react-router'
import MainHeader from '../MainHeader'

export default function AppLayout() {
  return (
    <div>
      <MainHeader />
      <div className="max-w-7xl mx-auto p-4">
        <Outlet />
      </div>
    </div>
  )
}
The only part that might seem strange is Outlet. It works the same way as the children prop in __root.tsx: it's a placeholder where the matched child route gets rendered. That's how a layout wraps a route.
Create the layout route
In src/routes, create a file called _appLayout.tsx. TanStack Start will scaffold the route for you. You may see a path conflict error with the home route. Don't worry about it, it clears up once we're done. Update the file:
import AppLayout from '@/components/layouts/AppLayout'
import { createFileRoute } from '@tanstack/react-router'

export const Route = createFileRoute('/_appLayout')({
  component: () => {
    return <AppLayout />
  },
  notFoundComponent: () => {
    return <p>This page doesn't exist!</p>
  },
})
Here's what the two options do:
component: what actually renders when a child route matches. Since this is a layout route,AppLayoutcontains an<Outlet />, the placeholder where whichever child route matched gets rendered.notFoundComponent: defines not-found handling scoped to this layout. It lets different sections of your app show contextually appropriate "not found" messaging instead of one generic message everywhere.
Move your routes under the layout
How do we add pages to this layout? Through the file names. Rename your route files like this:
_appLayout.index.tsx
_appLayout.about.tsx
_appLayout.products.tsx
Then remove <MainHeader /> from each route component (if you haven't already), since the layout now provides it. The route path inside each file, like createFileRoute('/_appLayout/about'), is updated for you by the router plugin while the dev server is running.
You'll notice the whole app layout has changed. The pages are now displayed at a fixed width instead of the full page. What's happening is that the route components are now nested inside the _appLayout route. You don't see _appLayout in the browser's URL because the leading underscore tells TanStack Router this is a pathless route, in other words, a layout route.
To change the header, edit the header component and it renders across the app. To change the layout structure, change one file.
What if I need a different header for a specific page?
Layouts have you covered. In src/components, create another header component called ProductsHeader.tsx:
export default function ProductsHeader() {
  return (
    <div>
      <div className="flex items-center justify-between p-8">
        <h1 className="uppercase font-bold text-2xl">Logo</h1>
        <p>This is the Products menu</p>
      </div>
    </div>
  )
}
Now create a layout component for it in src/components/layouts called ProductsLayout.tsx:
import { Outlet } from '@tanstack/react-router'
import ProductsHeader from '../ProductsHeader'

export default function ProductsLayout() {
  return (
    <div>
      <ProductsHeader />
      <div className="max-w-7xl mx-auto p-4">
        <Outlet />
      </div>
    </div>
  )
}
The ProductsHeader is now part of ProductsLayout. To make the products route a child of this layout, rename its file from _appLayout.products.tsx to:
_productsLayout.products.tsx
Then, in src/routes, create _productsLayout.tsx:
import ProductsLayout from '@/components/layouts/ProductsLayout'
import { createFileRoute } from '@tanstack/react-router'

export const Route = createFileRoute('/_productsLayout')({
  component: () => {
    return <ProductsLayout />
  },
  notFoundComponent: () => {
    return <p>This page doesn't exist!</p>
  },
})
Check the app. The home and about pages share the same header, while the products page has a different one. You could just as easily give the products page an entirely different layout structure, not just a different header.
Summary
Here's what we covered:
Pasting a header into every route works, but a single typo means editing every page.
A reusable component fixes the typo problem, but you still have to add it to every route by hand.
Putting the header in
__root.tsxshows it everywhere from one place, but it makes your root file busier, and it's inflexible when pages need different headers.Layouts give you the best of both: a pathless layout route (a file starting with
_) renders a layout component, and that component uses<Outlet />to render whichever child route matched.
A few things to remember:
The underscore prefix makes a route pathless, so it wraps its children without adding to the URL.
A route file's name decides which layout it lives under, for example
_appLayout.about.tsxversus_productsLayout.products.tsx.You can create as many layouts as your app needs, each with its own header, structure, and not-found handling, and still only edit one file per layout.
In the next post we'll keep building on this app. If you found this helpful, leave a comment or a reaction, and follow the series so you don't miss it.
Happy coding! 🚀